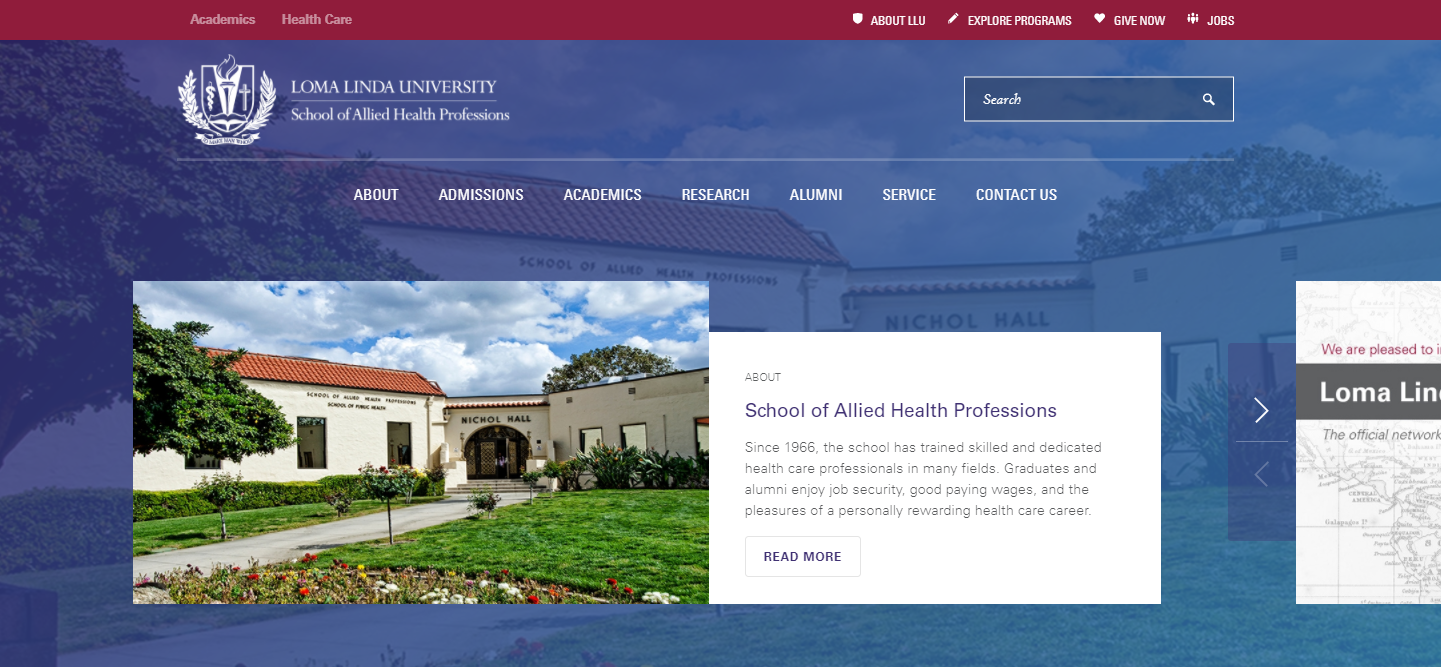
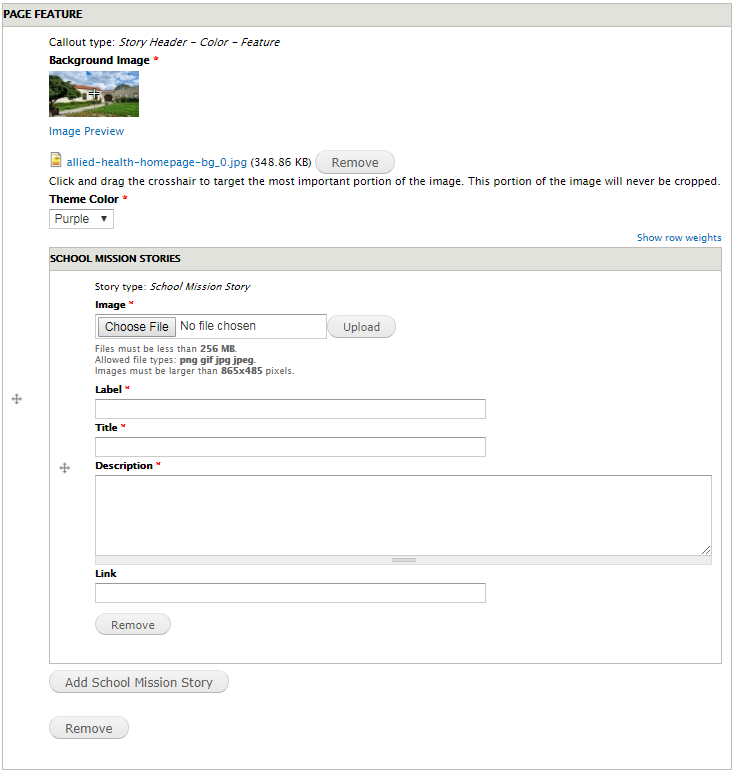
The Story Header Color Background component is a "slider type" feature for highlighting different areas or stories of interest on the homepage of a site. This feature is comprised of two sections. The first section "Story Header - Color - Feature" is the image background and color behind the slides on the homepage. The second section "School Mission Stories" is used to create the slides. We strongly recommend using no more than three slides maximum.
Edit View
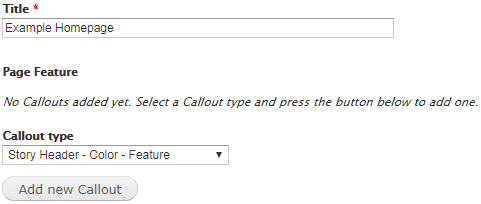
To create this feature, first enter the edit view of the homepage you want to add it to then navigate to Page Feature and choose "Story Header - Color - Feature" from the dropdown menu. Then click the button labeled Add Another Callout.
Story Header - Color - Feature
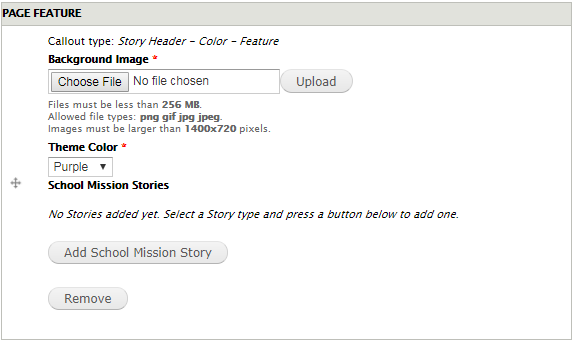
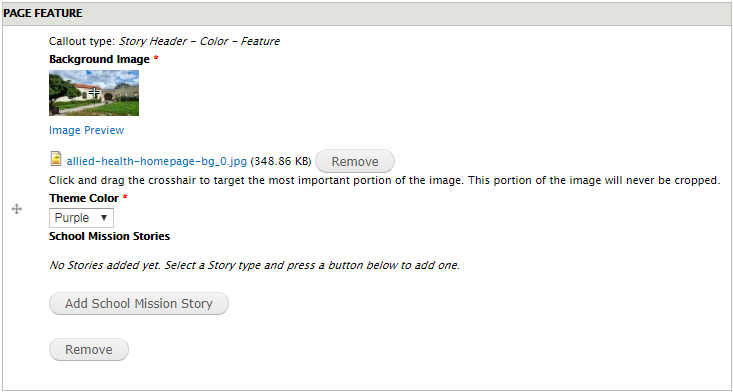
Now choose an image for the background. The image you choose must be 1400x720 pixels or larger. Once you've chosen an image for the background click the button labeled "upload". You will now see a preview of the image. If desired, you can choose a focal point with the crosshairs in the top left of the image preview.
Finish the first section by choosing the color of the overlay that is going to go over the entirety of the image you choose via the Theme Color dropdown menu. This creates a nice texture background for your sliders to be displayed on.
Now click on the button labled "Add School Mission Story" to create your first slide.
School Mission Stories
The option to add content to your first slide will appear. Fill out all the required fields and image for the slide. The image for this section is smaller, you want to use an image that is 865x485 pixels or higher. Images containing text should be avoided.
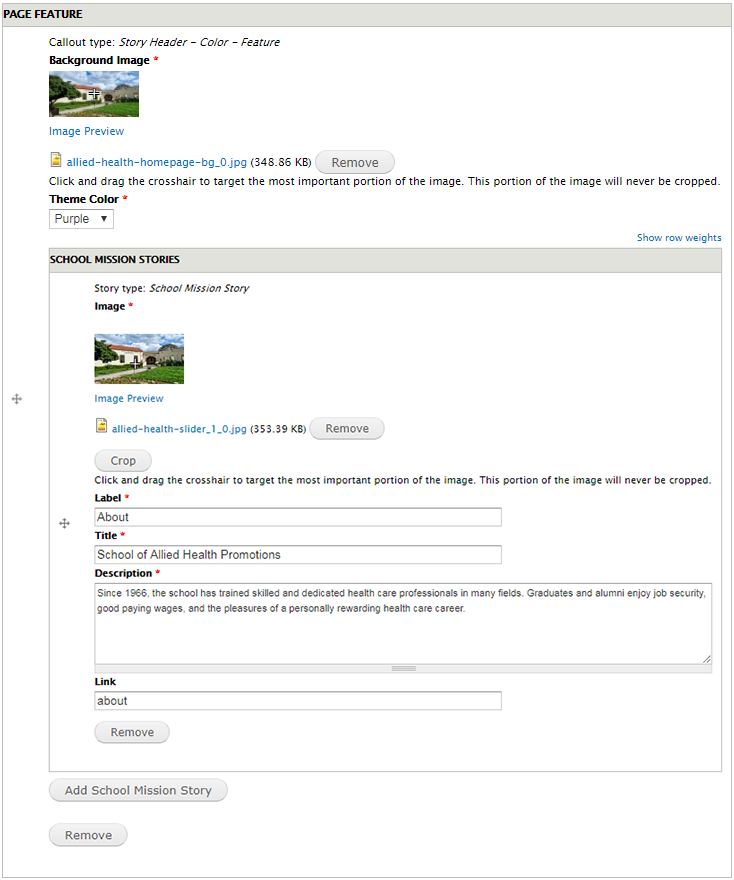
Once you've chosen an image for the background click the button labeled "upload". You will now see a preview of the image. If desired, you can crop the image and choose a focal point with the crosshairs in the top left of the image preview.
Below is an example of what the screen will look like after all the required fields are filled out.
Once you've finished adding in all the content you'd like into the fields scroll to the bottom of the edit window and click the bottom-left button labeled Save.
Character Limits
| Text Field | Character Limit |
|---|---|
| Label | 30 |
| Title | 75 |
| Description | 165 |

